Starting Guide
Creating Invoices
Use Invoice to bill customers and get paid online. Share invoices with your customers via email, or with any other messaging platform.

Creating an Invoice
On the Nomod App
- Tap Invoice > Create
- Enter the price of the product you are selling
- Tap Item Name to add a product name
- Choose a customer from your list to receive the Invoice, or add a new one
- Fill out extra details (This is optional):
- Tap Add Item to add more products.
- Tap Add product to add products from your Catalogue
- Add a Discount
- Enter a Reference Number for your Invoice
- Give your Invoice a Title
- Set a schedule for the Invoice
- Choose your preferred frequency
- Set a due date for the Invoice
- Add more optional details
- Add a Note to describe what you are selling
- Add a Service Date (When the service took place)
- Ask for a shipping address if required
- Toggle Pay with Tabby and Pay with Tamara to control whether they’re available as payment options for this Invoice
- Toggle the Service Fee on or off to decide if it applies to this Invoice
- Set a payment reminder
- Add a Custom Field if you need extra details
- Add any relevant attachments to the Invoice
- Tap Create and send the Invoice to your Customer's email or share through WhatsApp, SMS, or other messaging apps.
On the Nomod Dashboard
- Click Invoice > Create Invoice
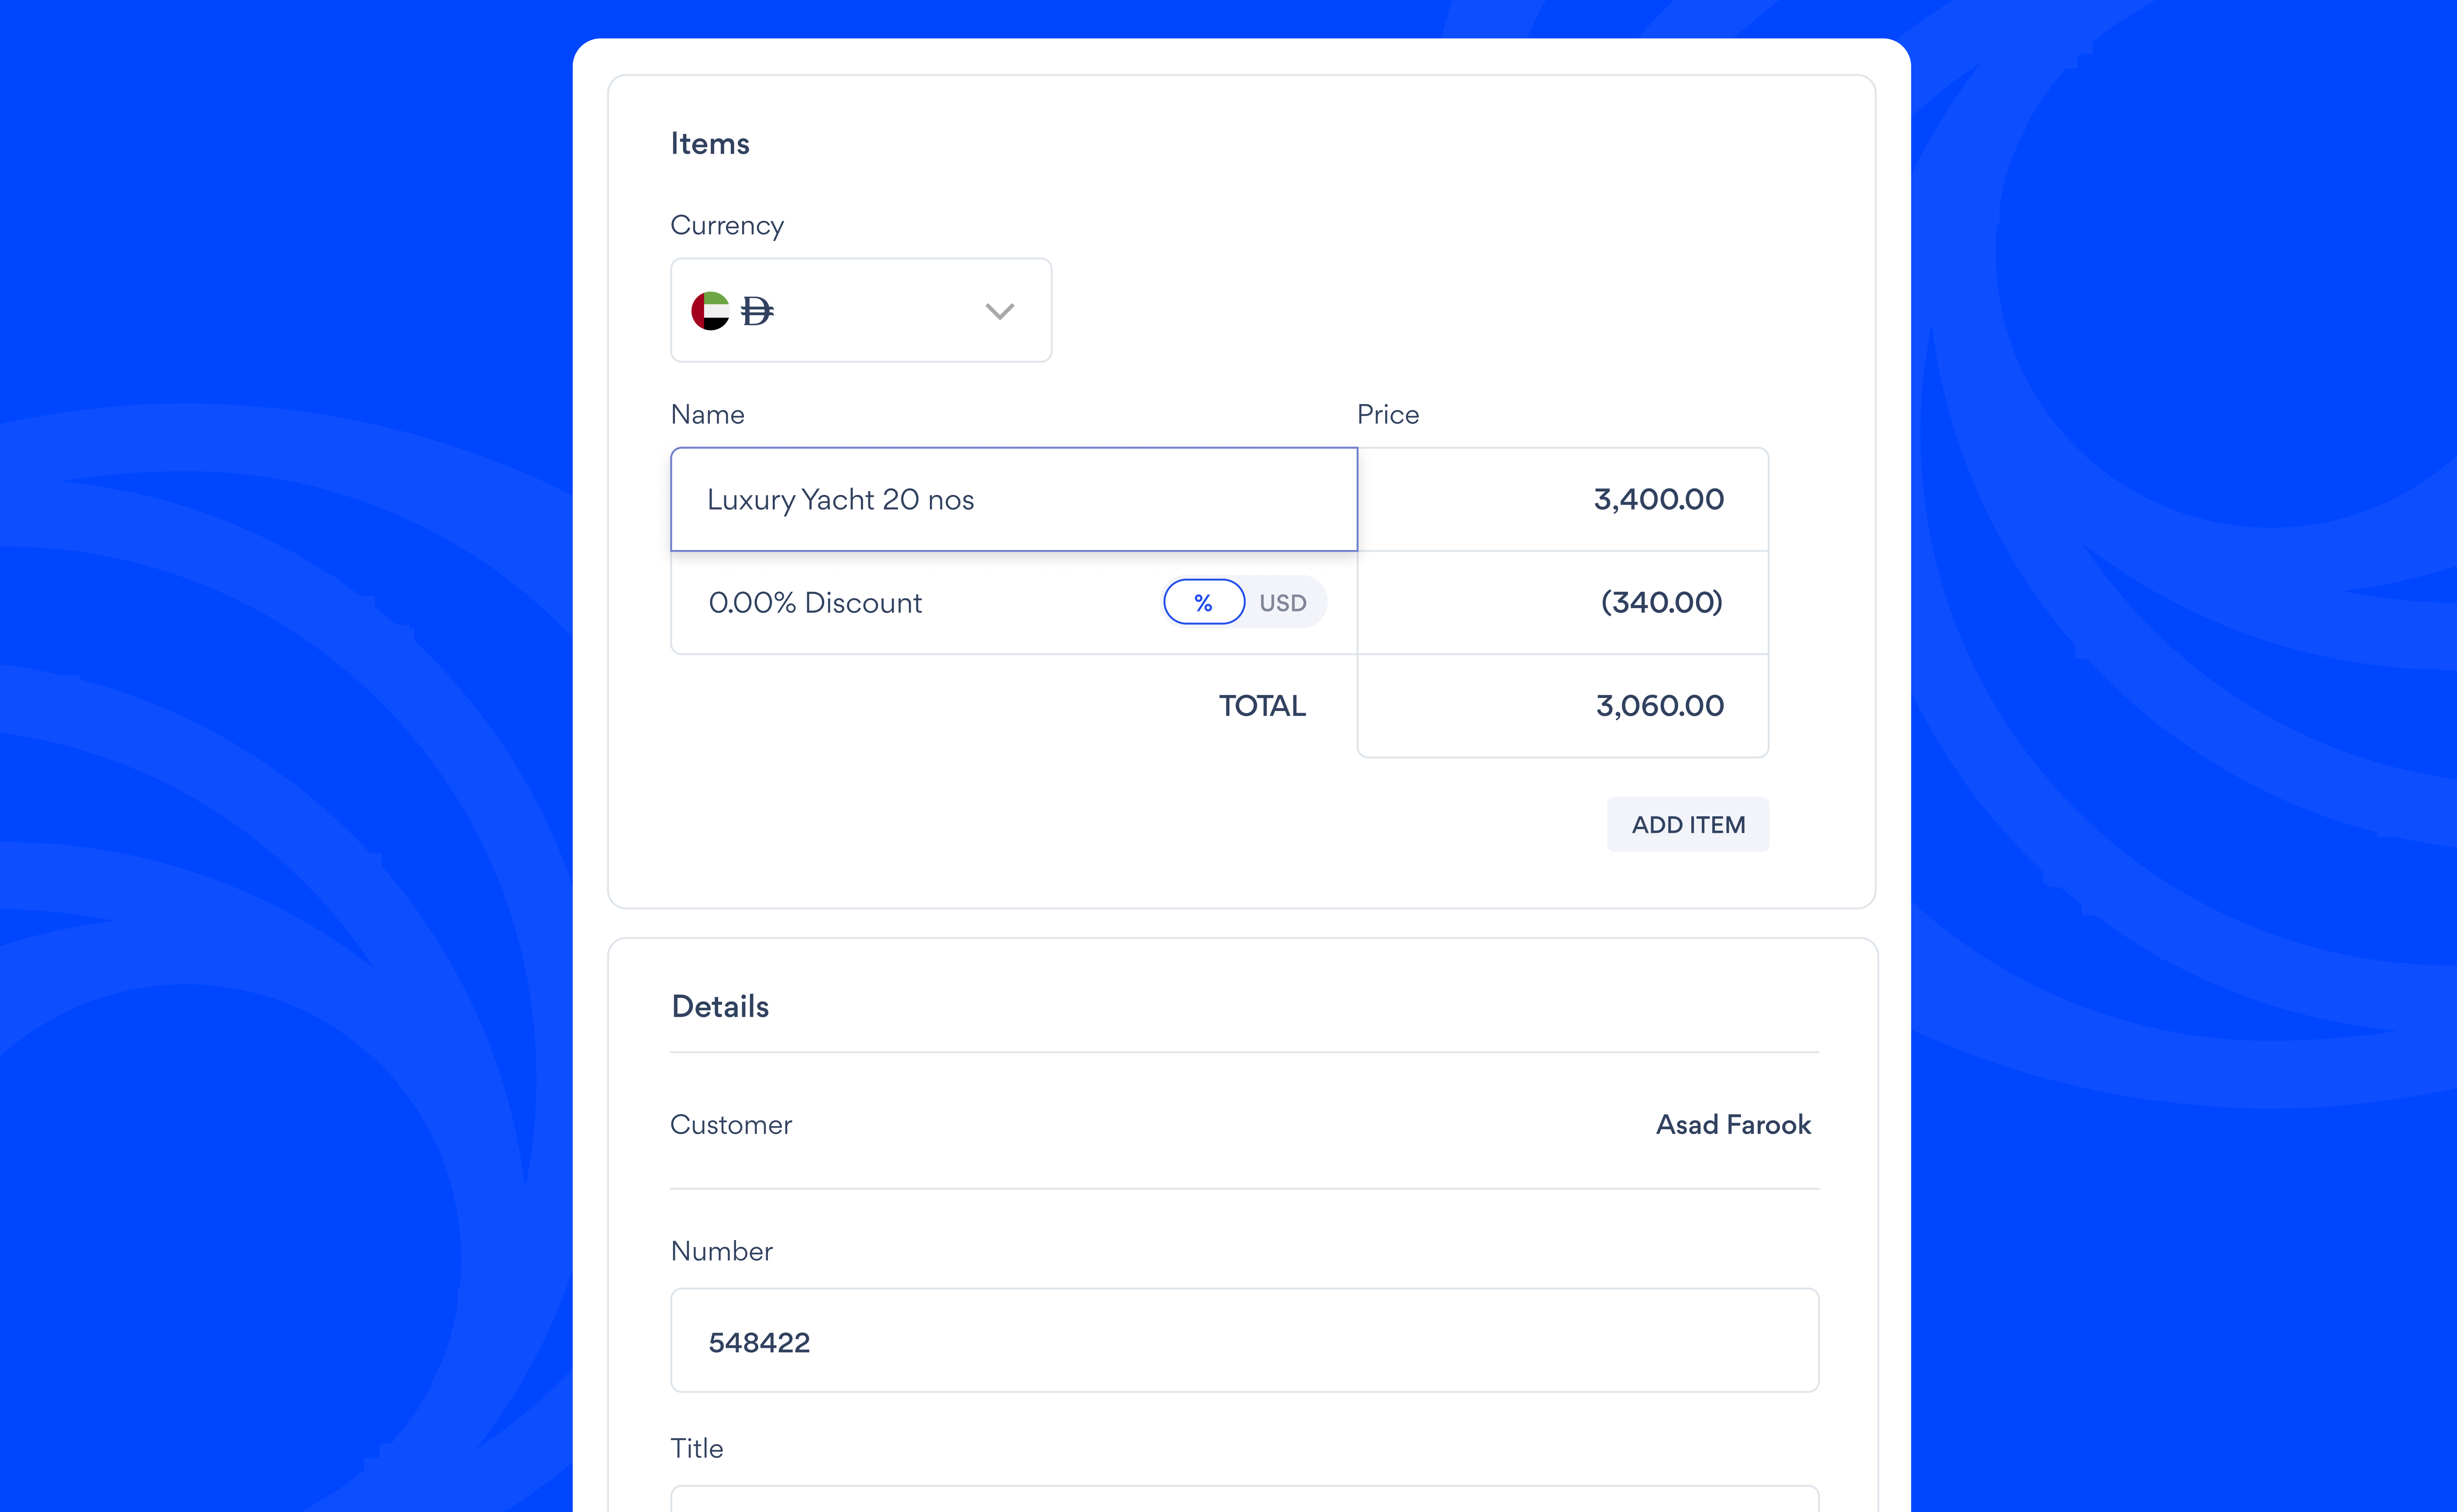
- Add your product:
- Enter the product name in Item Name
- Enter the price
- Choose a Customer from your list to receive the Invoice
- Tap Add Item to add more products.
- Add a Discount
- Enter a Reference Number for your Invoice
- Enter a Title for your Invoice
- Set a schedule for the Invoice
- Choose your preferred Frequency (one-time or recurring)
- Set a due date for the Invoice
- Add more optional details
- Add a Note to describe what you are selling
- Add a Service Date (When the service took place)
- Ask for a shipping address if required
- Toggle Pay with Tabby and Pay with Tamara to control whether they’re available as payment options for this Invoice
- Toggle the Service Fee on or off to decide if it applies to this Invoice
- Set a payment reminder
- Add a Custom Field if you need extra details
- Add any relevant attachments to the Invoice
- Tap Create and send the Invoice to your Customer's email or share it through WhatsApp, SMS, or other messaging apps.
Learn more about Invoice features